(Of course, that is a slightly antiquated analogy. 2D work today means a lot of graphic design work in broadcasting and actual film shooting).
That being said, 3D Production II builds (a lot) on the basic skills I learned last semester and implements them on a semester-long project. Essentially, we are learning how the production pipeline works in terms of 3D animation, starting with storyboards and ending with rendering. In between, you need to model, texture, layout the cameras, deform, rig...the list goes on. The basic idea is to create 30 second short in which a character emerges from a container and juggles, then does something with the objects it is juggling.
Since I am incapable of keeping my life simple, I decided on a coachman who pops out of Cinderella's carriage and juggles glass slippers which then break and, in a puff of smoke, turn the coachman and carriage into a mouse in a pumpkin.
So, here are some test renders of my project, from Week 1 to the present. Enjoy.
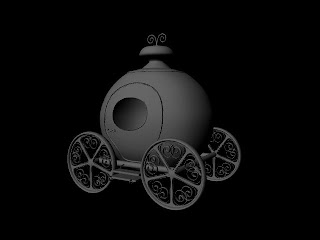
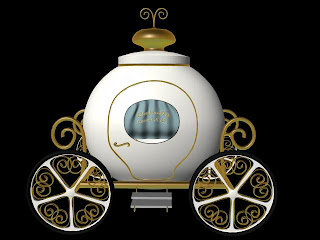
Models of Cinderella's carriage, before and after texturing.


Mouse: original model, with a UV map, and textured.
The UV map allows you to see where certain parts of a texture (a file imported from Photoshop, for example) will end up on your model. UVs can be confusing because they originate from vertices on a model's geometry, but they are independent points that move the texture over the geometry (not the geometry itself). Get it??


The mouse in his house:

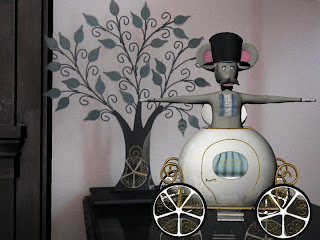
Next the models have to be put "in" a scene. In this case, I took a digital photograph in my apartment brought it into Maya as an image plane, and created a camera that I then matched to the photograph's perspective. Then I build additional objects to receive reflections and cast shadows. Here's the stock photo and the one with blocking:


Finally, models inserted into the scene. This is rendered using mentalray, which is where the reflections come from.

None of this stuff moves yet, so stay tuned for a talking, juggling mouse...

No comments:
Post a Comment